StayingSustainable.com
Tabbing Solar Cells
This is where you place the tabs that transfer energy from one cell to another onto the individual cells. To get 4.5V out of the cells, we have to connect the cells in series. That means the cells must be connected between their positive and negative poles. On solar cells, the front side of the cell is negative (-), and the back side is positive (+). So each tab has to connect the front of one cell to the back of the next.
Before we do this, it would be prudent to test your cells to make sure that all of the cells you are using are working properly. Just a single bad cell will mess it up because they are connected in series (think about old school Christmas lights). We won't go through that for this tutorial, but you can learn how to here.
In this step of the process, 8 out of the 9 cells were tabbed. Whatever the arrangement for your panel, make sure you leave one cell un-tabbed. By the way, I would suggest getting more cells than you need, because the cells are very fragile and will likely break if you aren’t an expert solder-er.(?)
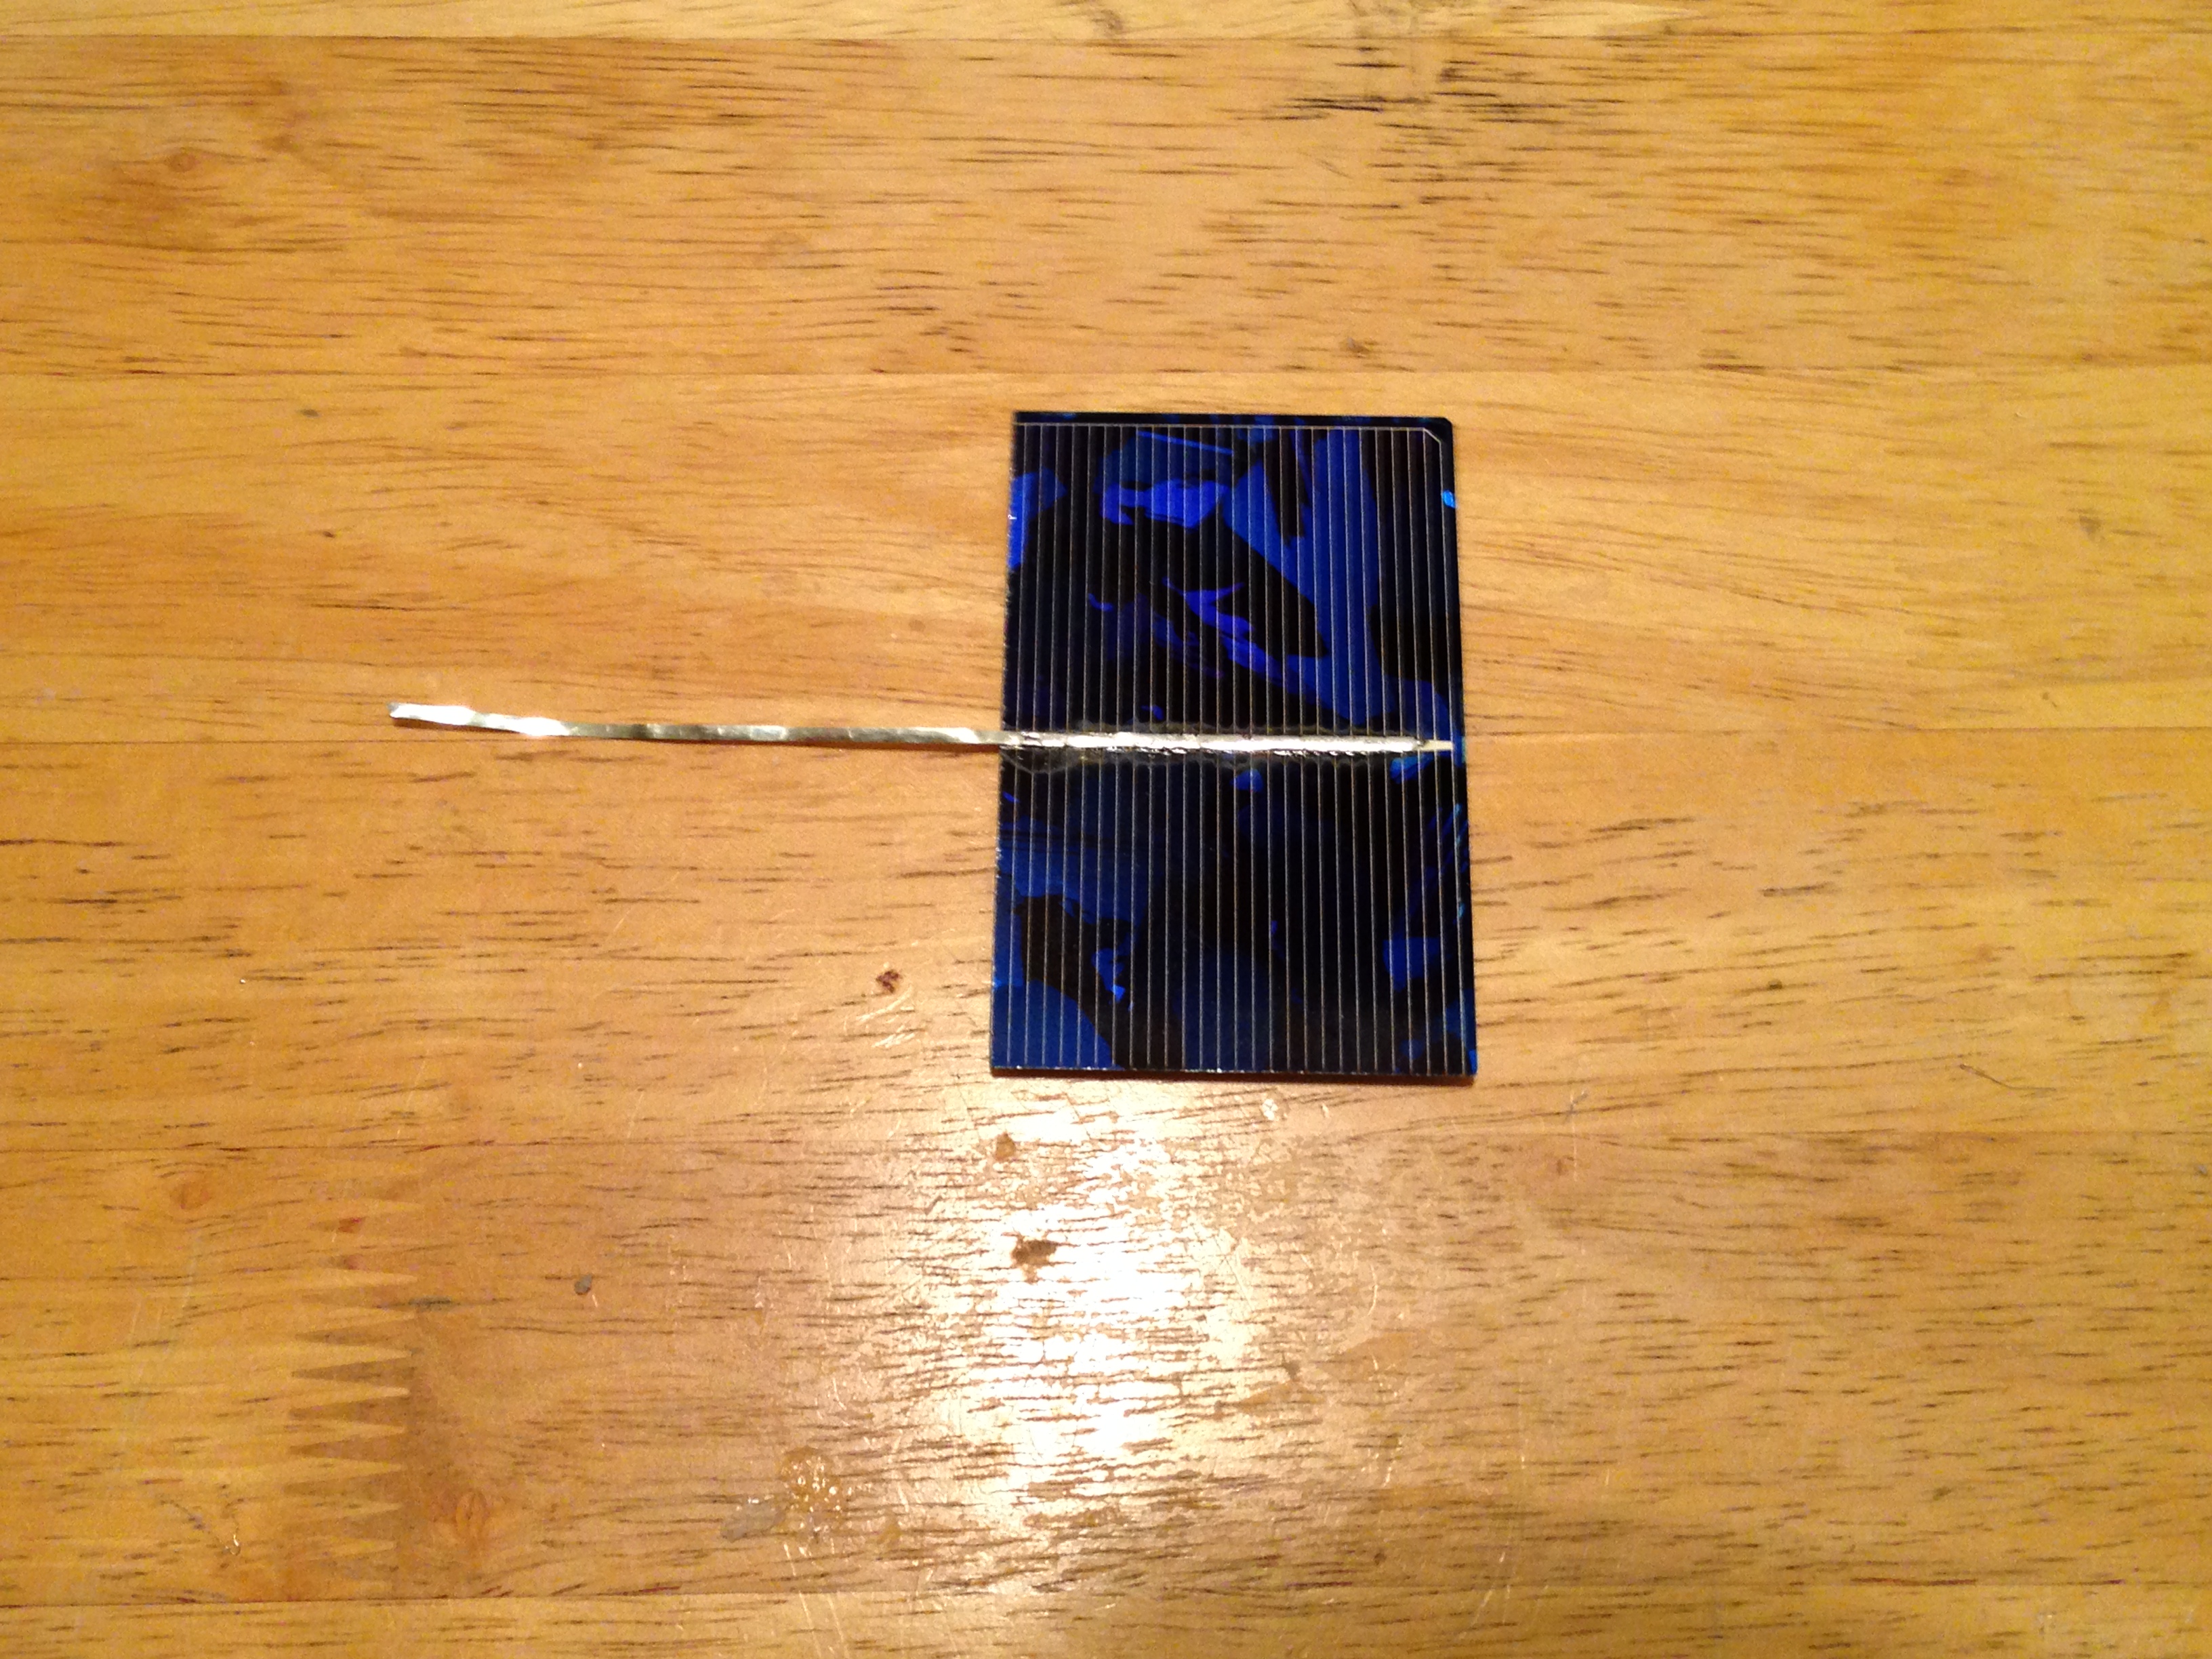
You’ll want to cut your tabbing wire into proper lengths before you start soldering the tab to the panel. For this tutorial, the tab wire was cut to just under 4 1/4”, to cover both cells and the proper spacing. The cut is just short because you’ll want to stop soldering just before you get to the end of the collector lines on the back of the cell.
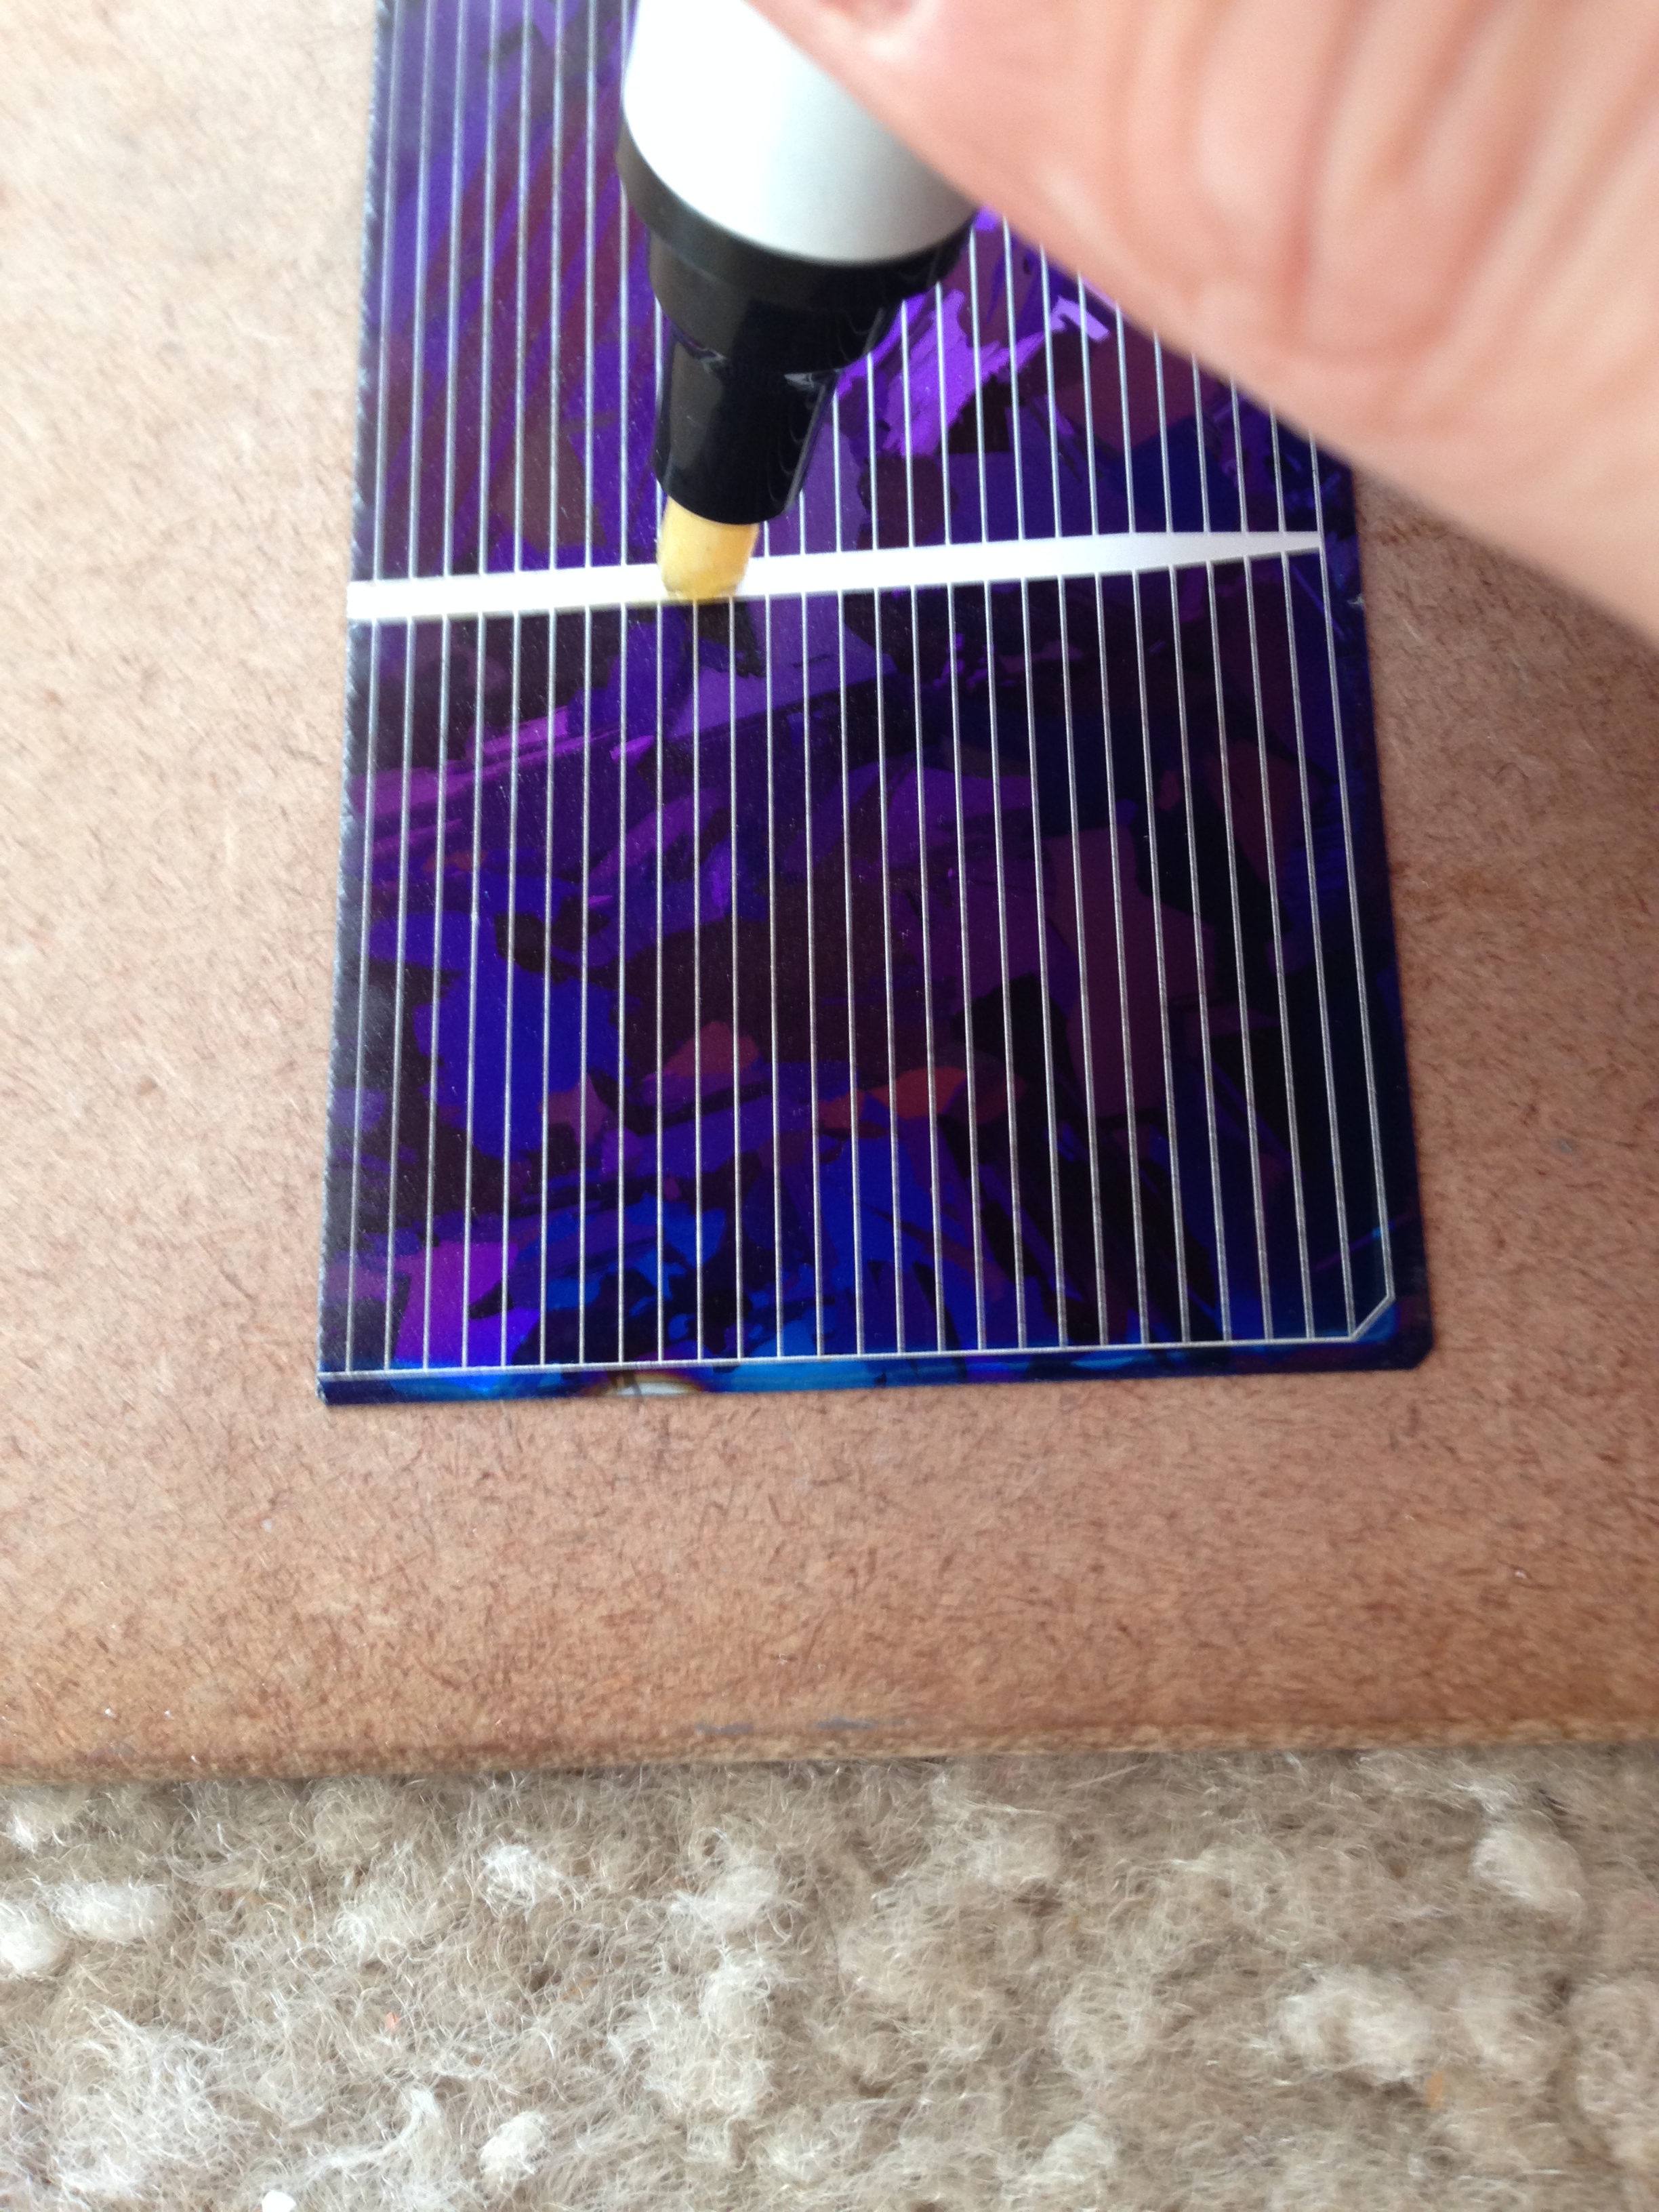
Start by getting your soldering iron heated. Make sure that the collector line on the front of the solar cell is clear of dust by just blowing on it a little bit. Take your flux pen and mark the entire collector line of the cell.
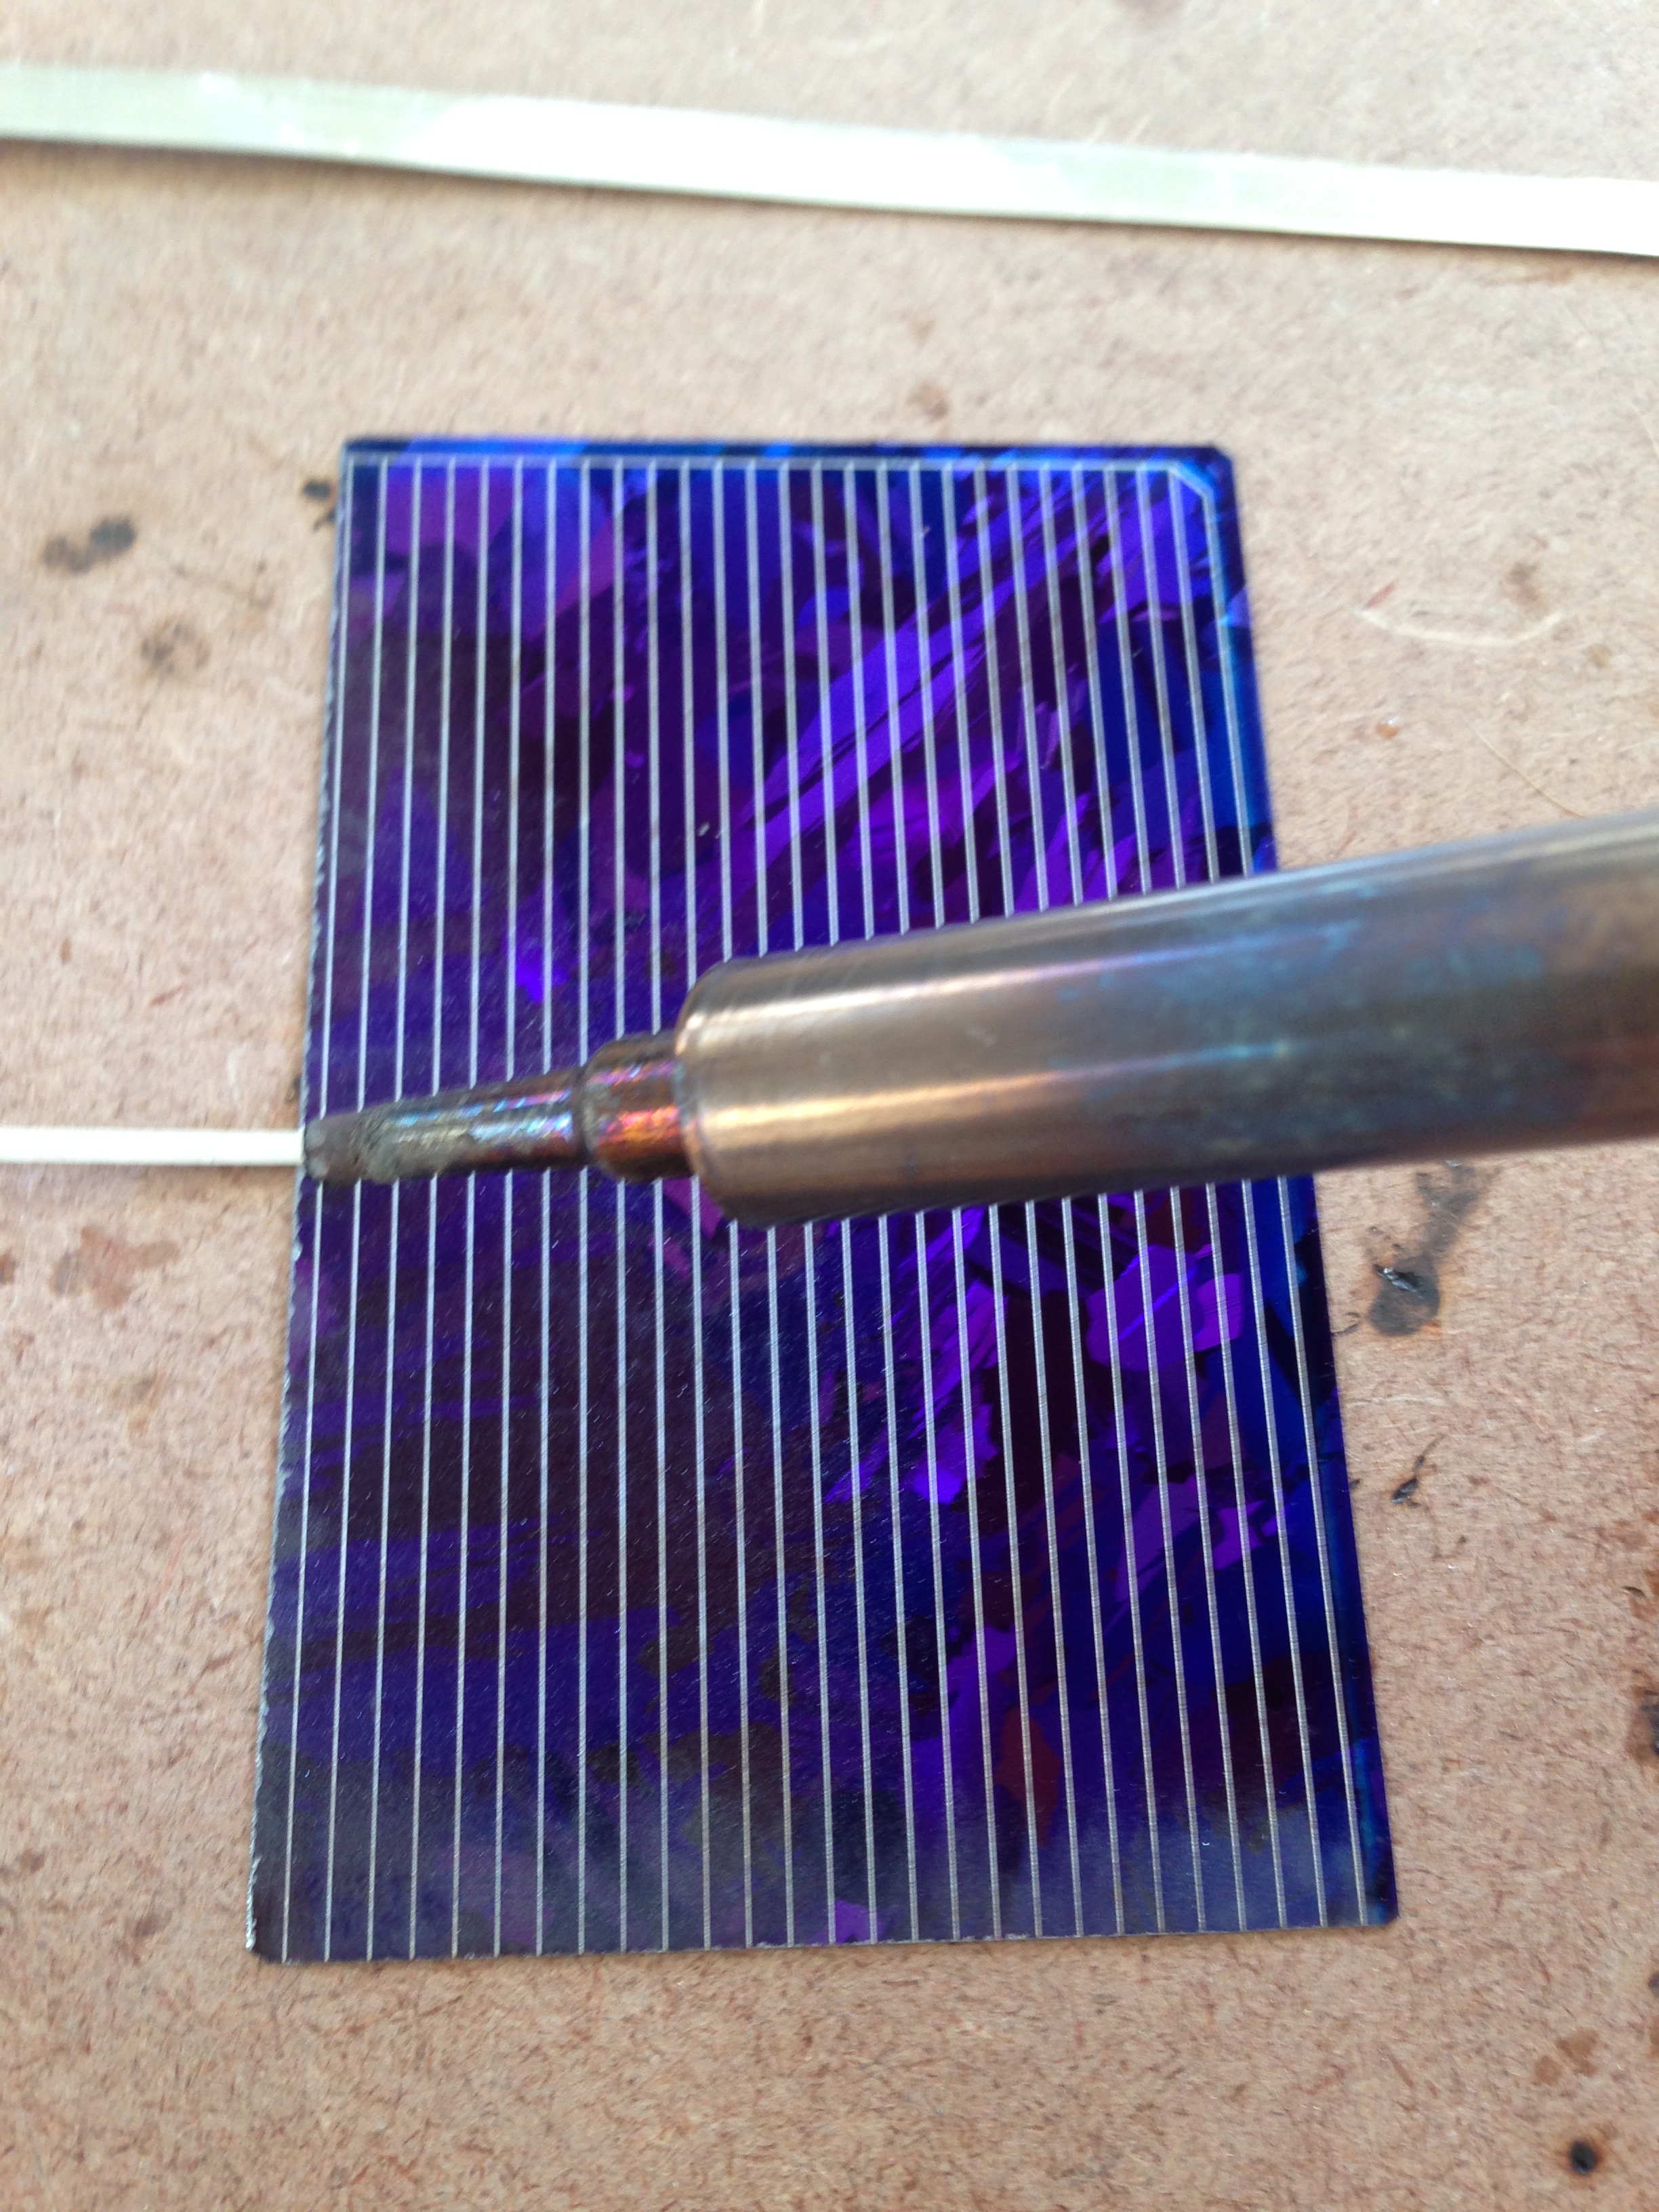
Next, get a small dot of solder onto your soldering iron and solder a strip of tabbing wire to your cell (remember we are only working on the front right now).
Do this on all but one of the cells for your panel. On the final cell, you will tab the front of it with bus wire instead of tabbing wire. You’ll do it differently than you have been already, so don’t get to it just yet.
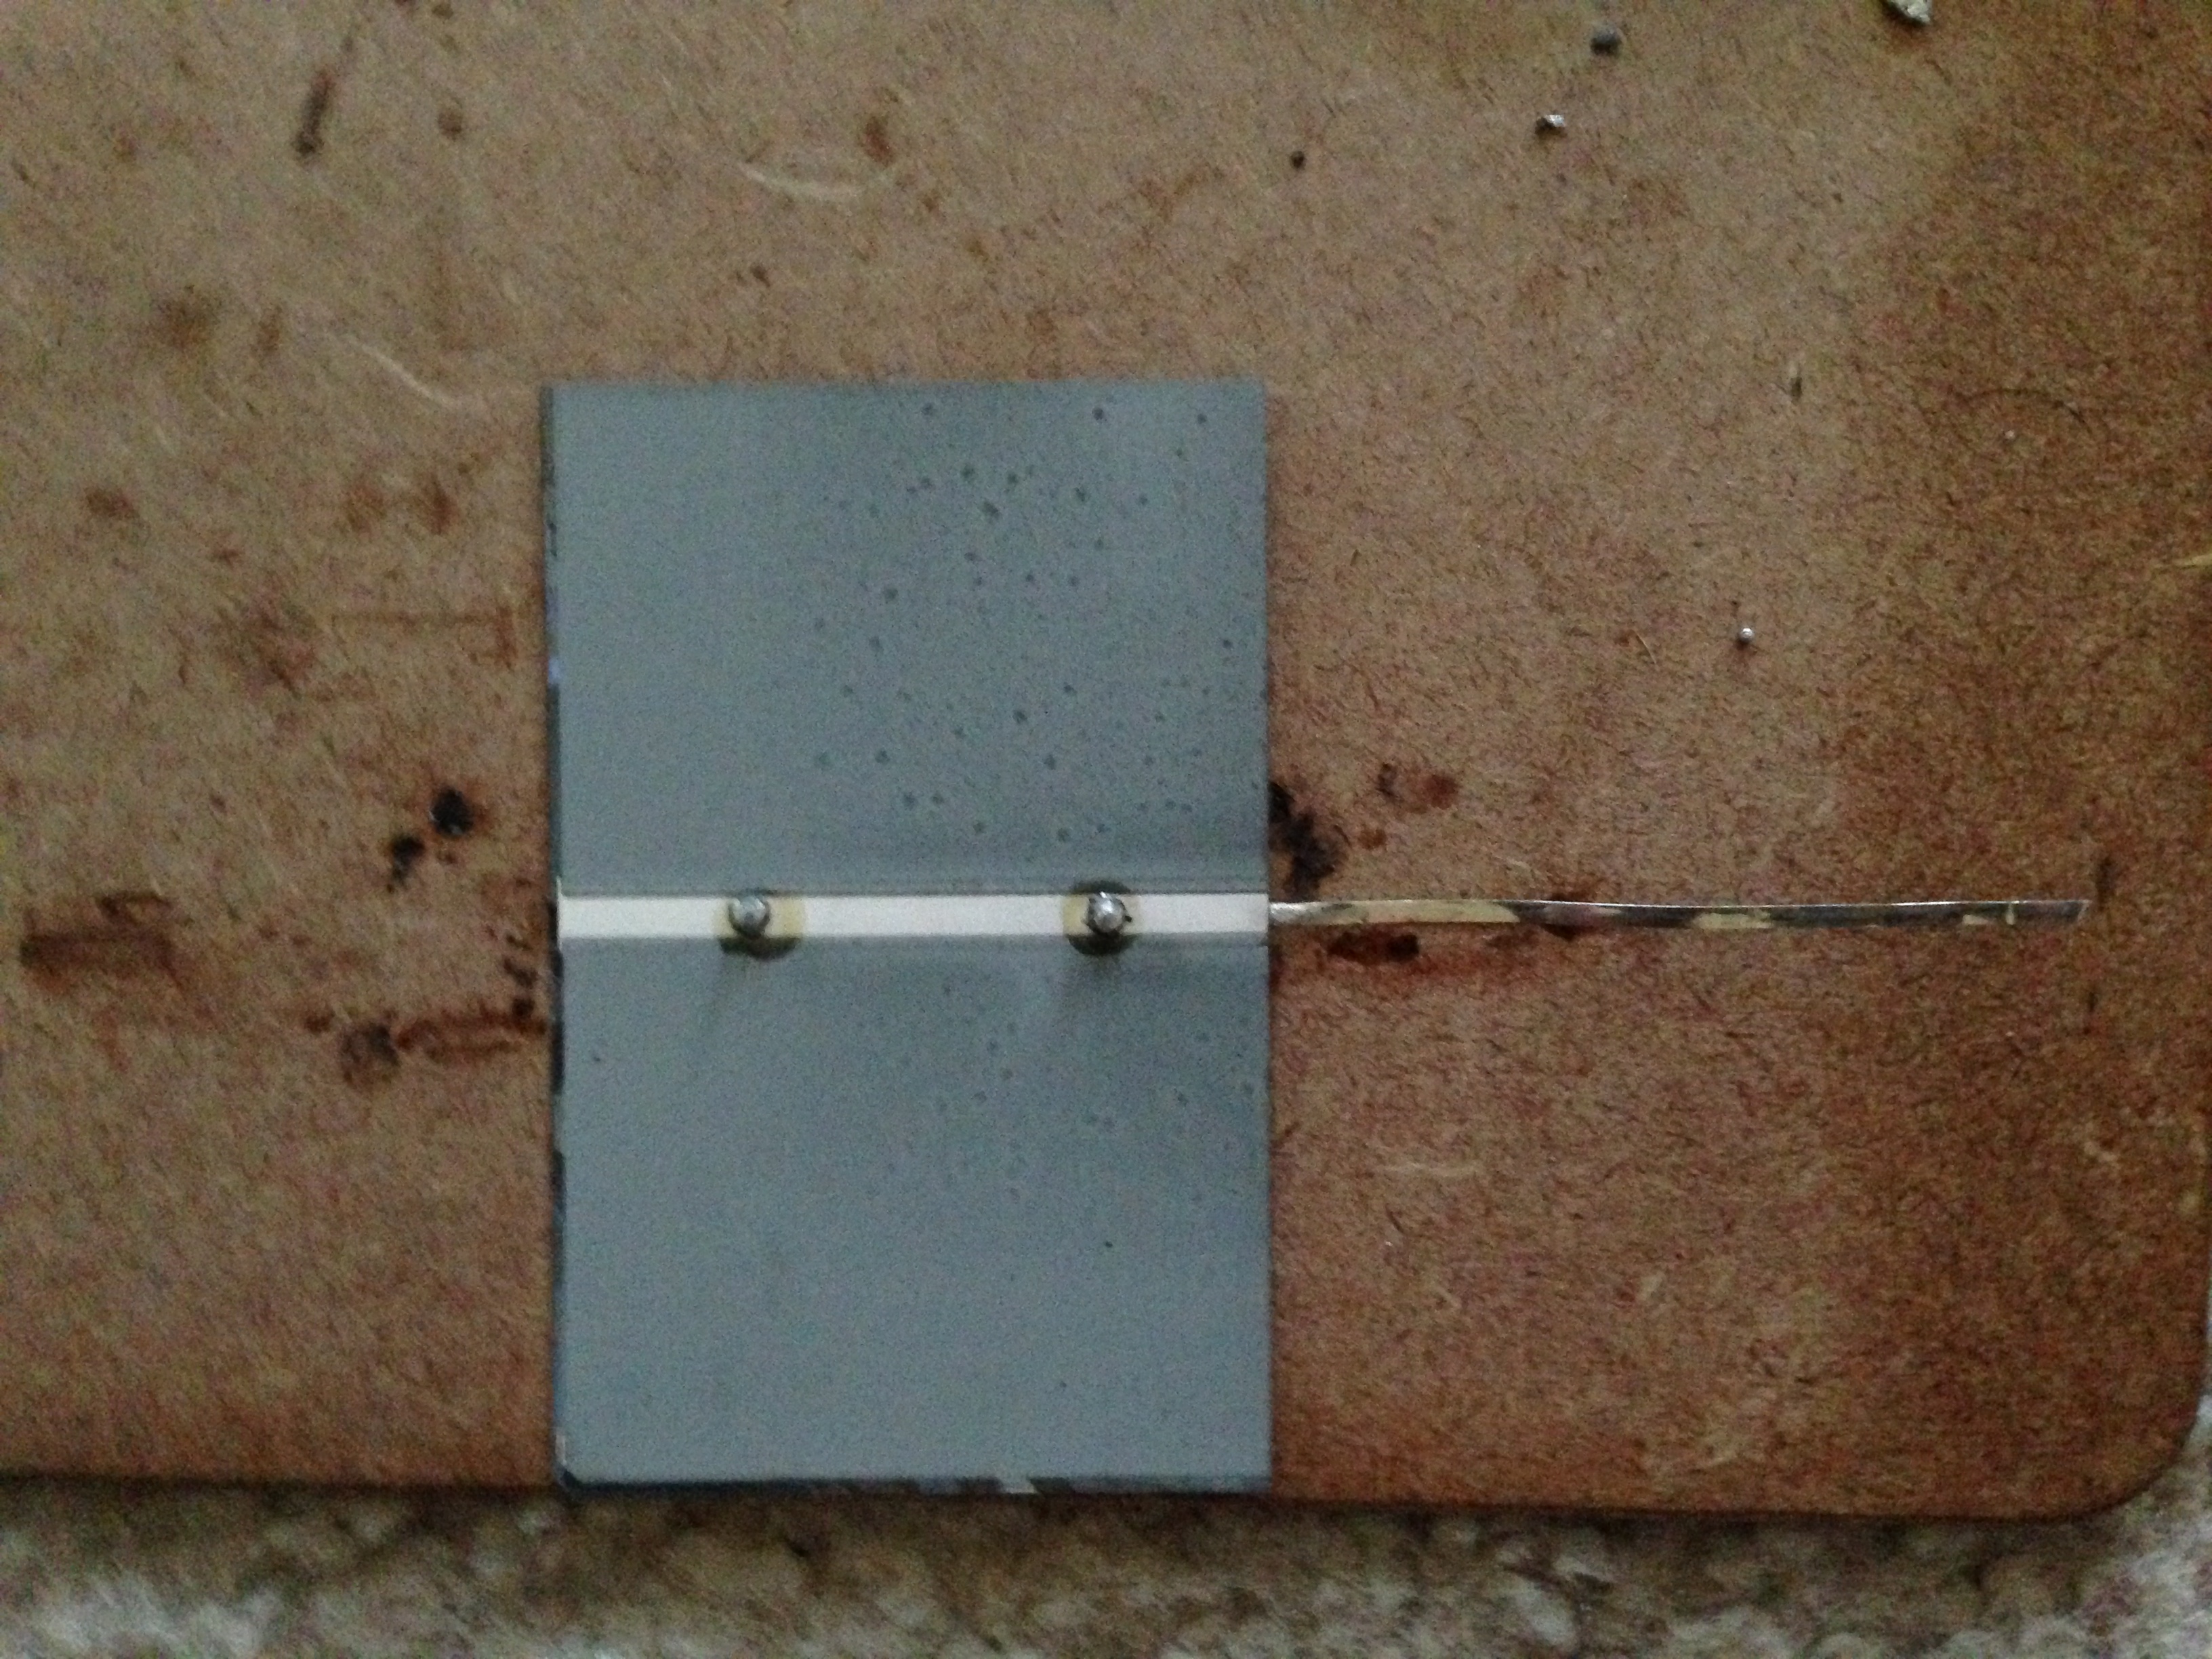
Because of the heat that the bus wire carries, you can’t run the soldering iron down the entire length of the panel because it will heat the cell too quickly and cause it to break. Instead, you will limit the contact and heat transfer by just connecting it in two locations. This will be just as effective, so long as there is a complete connection.
Start by clearing the collector on the front of the cell of dust and marking two areas along the collector line with the flux pen. The picture below shows doing this for the back of the cell, because the same method is used. You'll be doing it on the front of your first cell instead of what the picture shows.
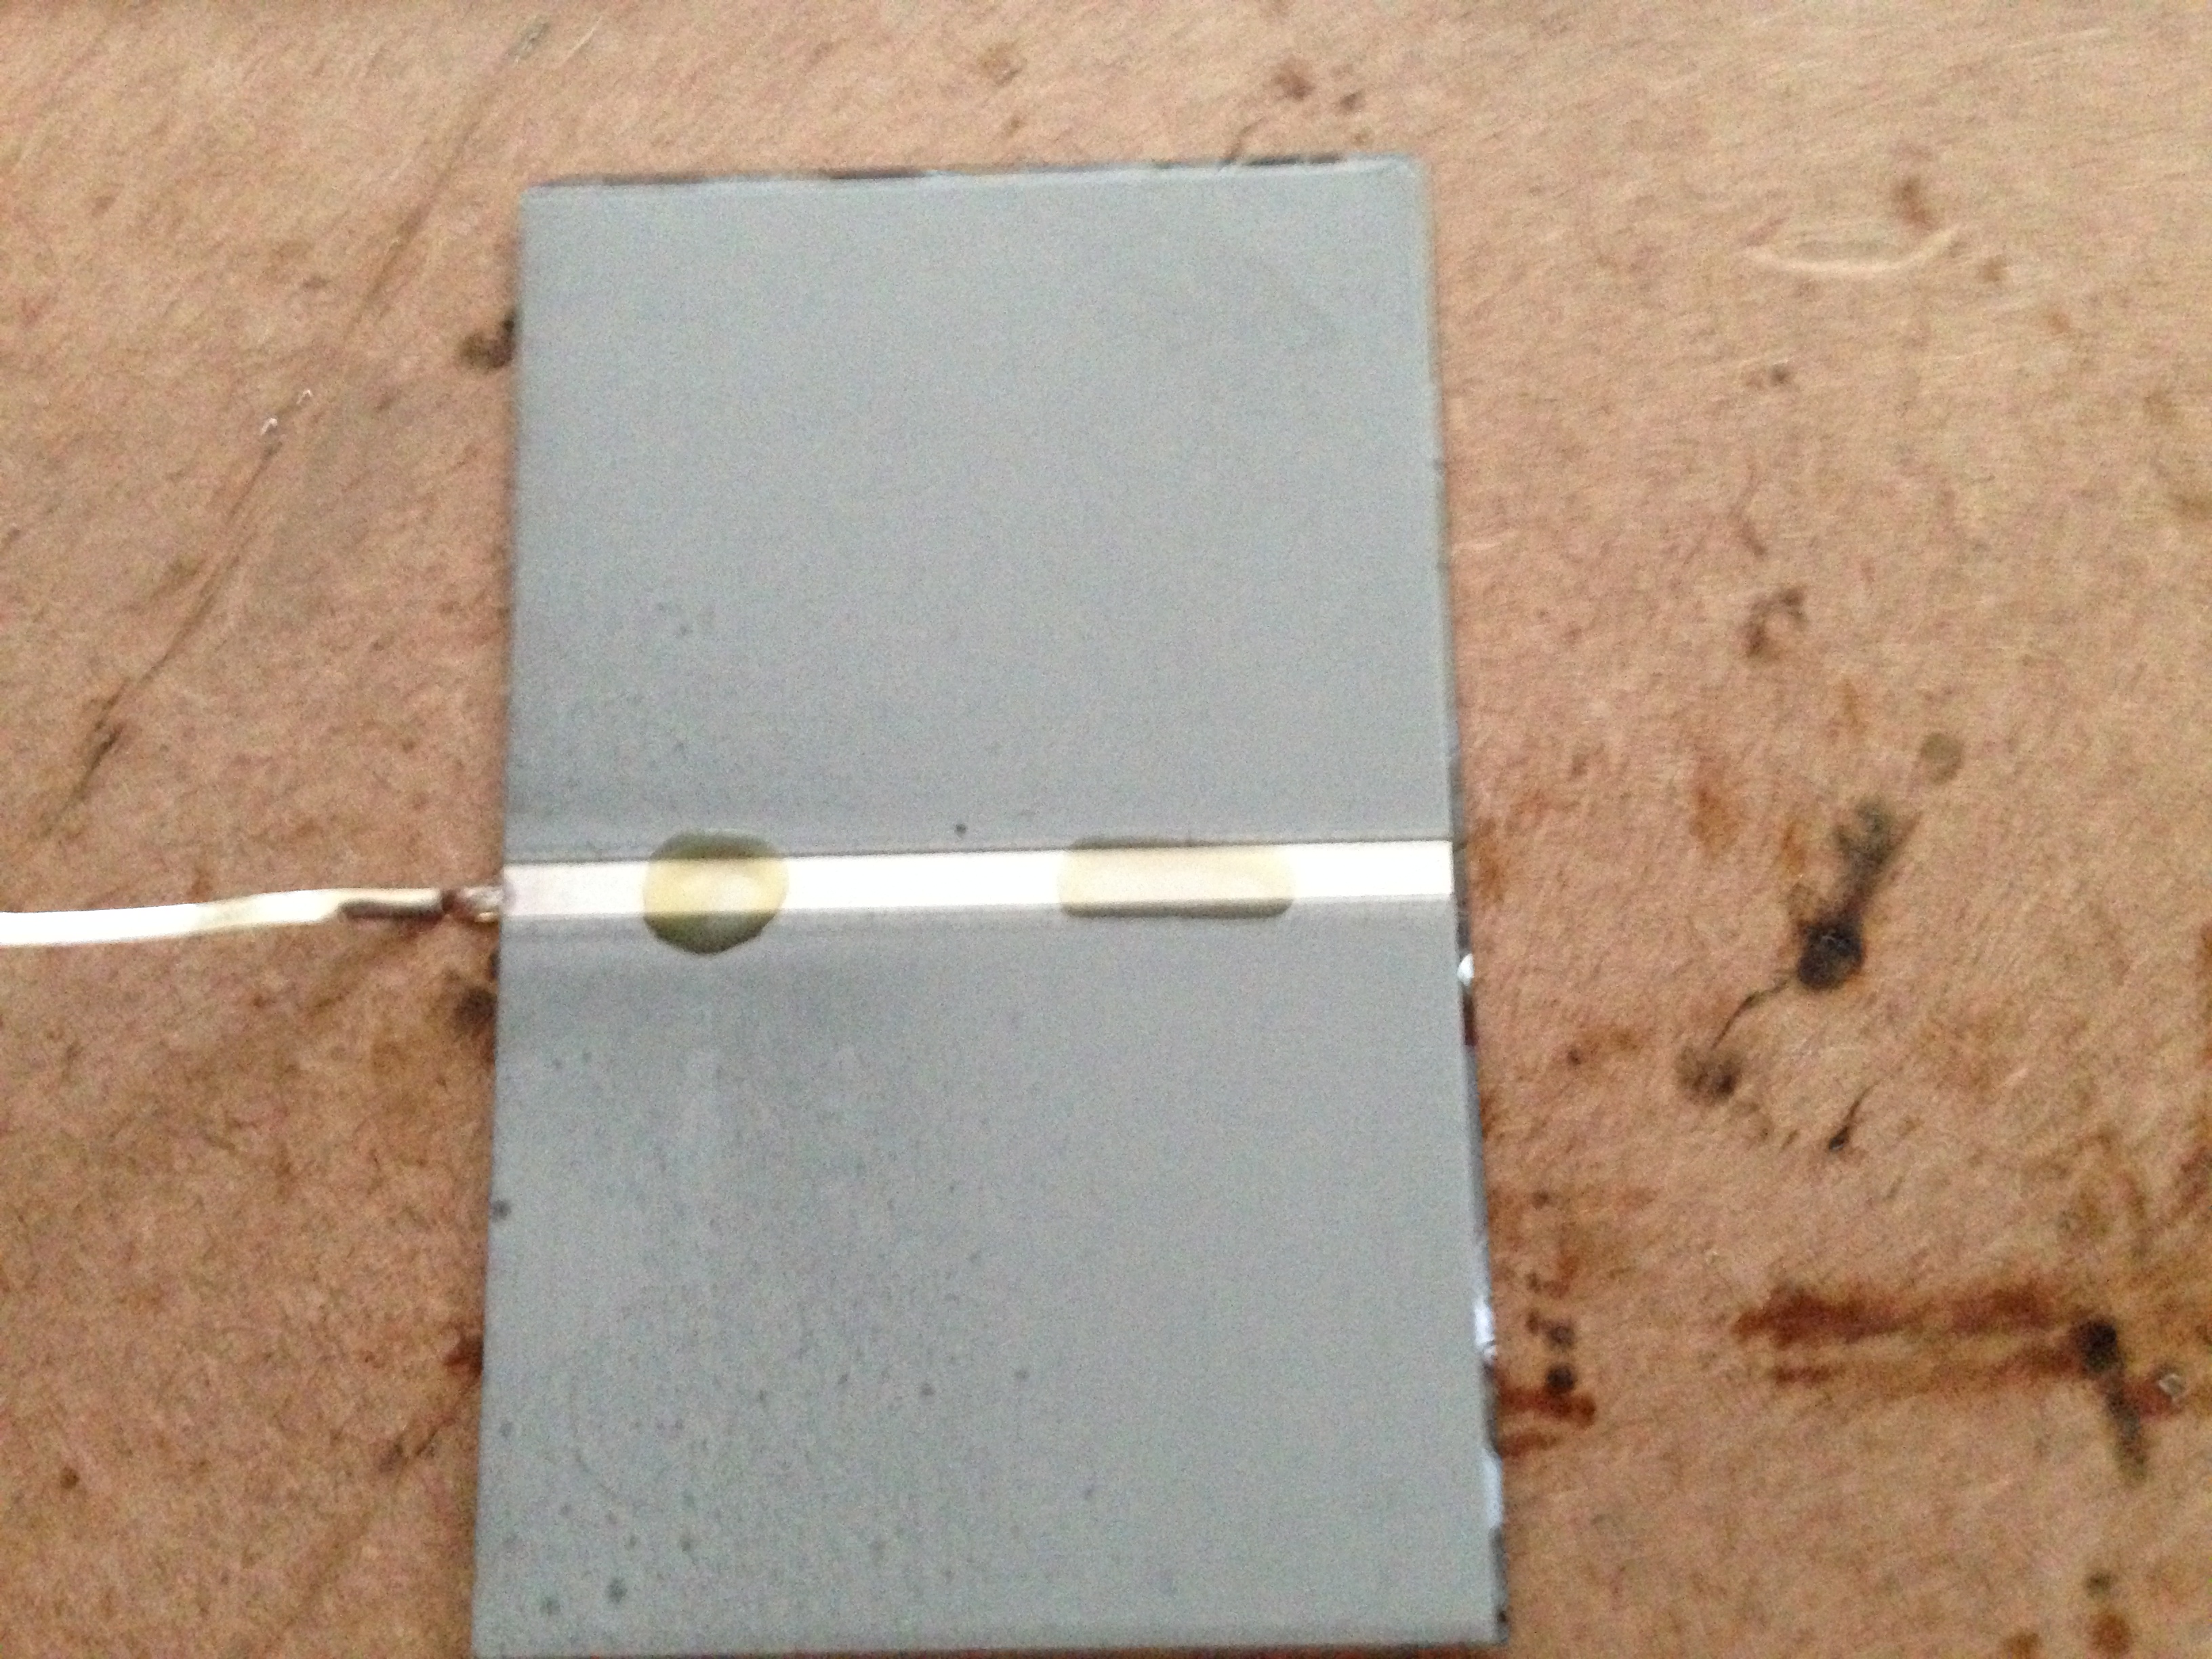
Put some solder on your soldering iron and place a dot of solder onto the two areas that you have already marked with your flux pen.
Cut a length of bus wire long enought to cover the cell and the distance until your layout calls for a bend.

Now connect the bus wire to the cell by placing the bus wire on top of the dot of solder, and applying the soldering iron to the bus wire. It should melt right to the cell. Be sure to move the soldering iron as soon as the wire is connected so you don’t overheat the cell.