StayingSustainable.com
Connecting Strings of Solar Cells Together
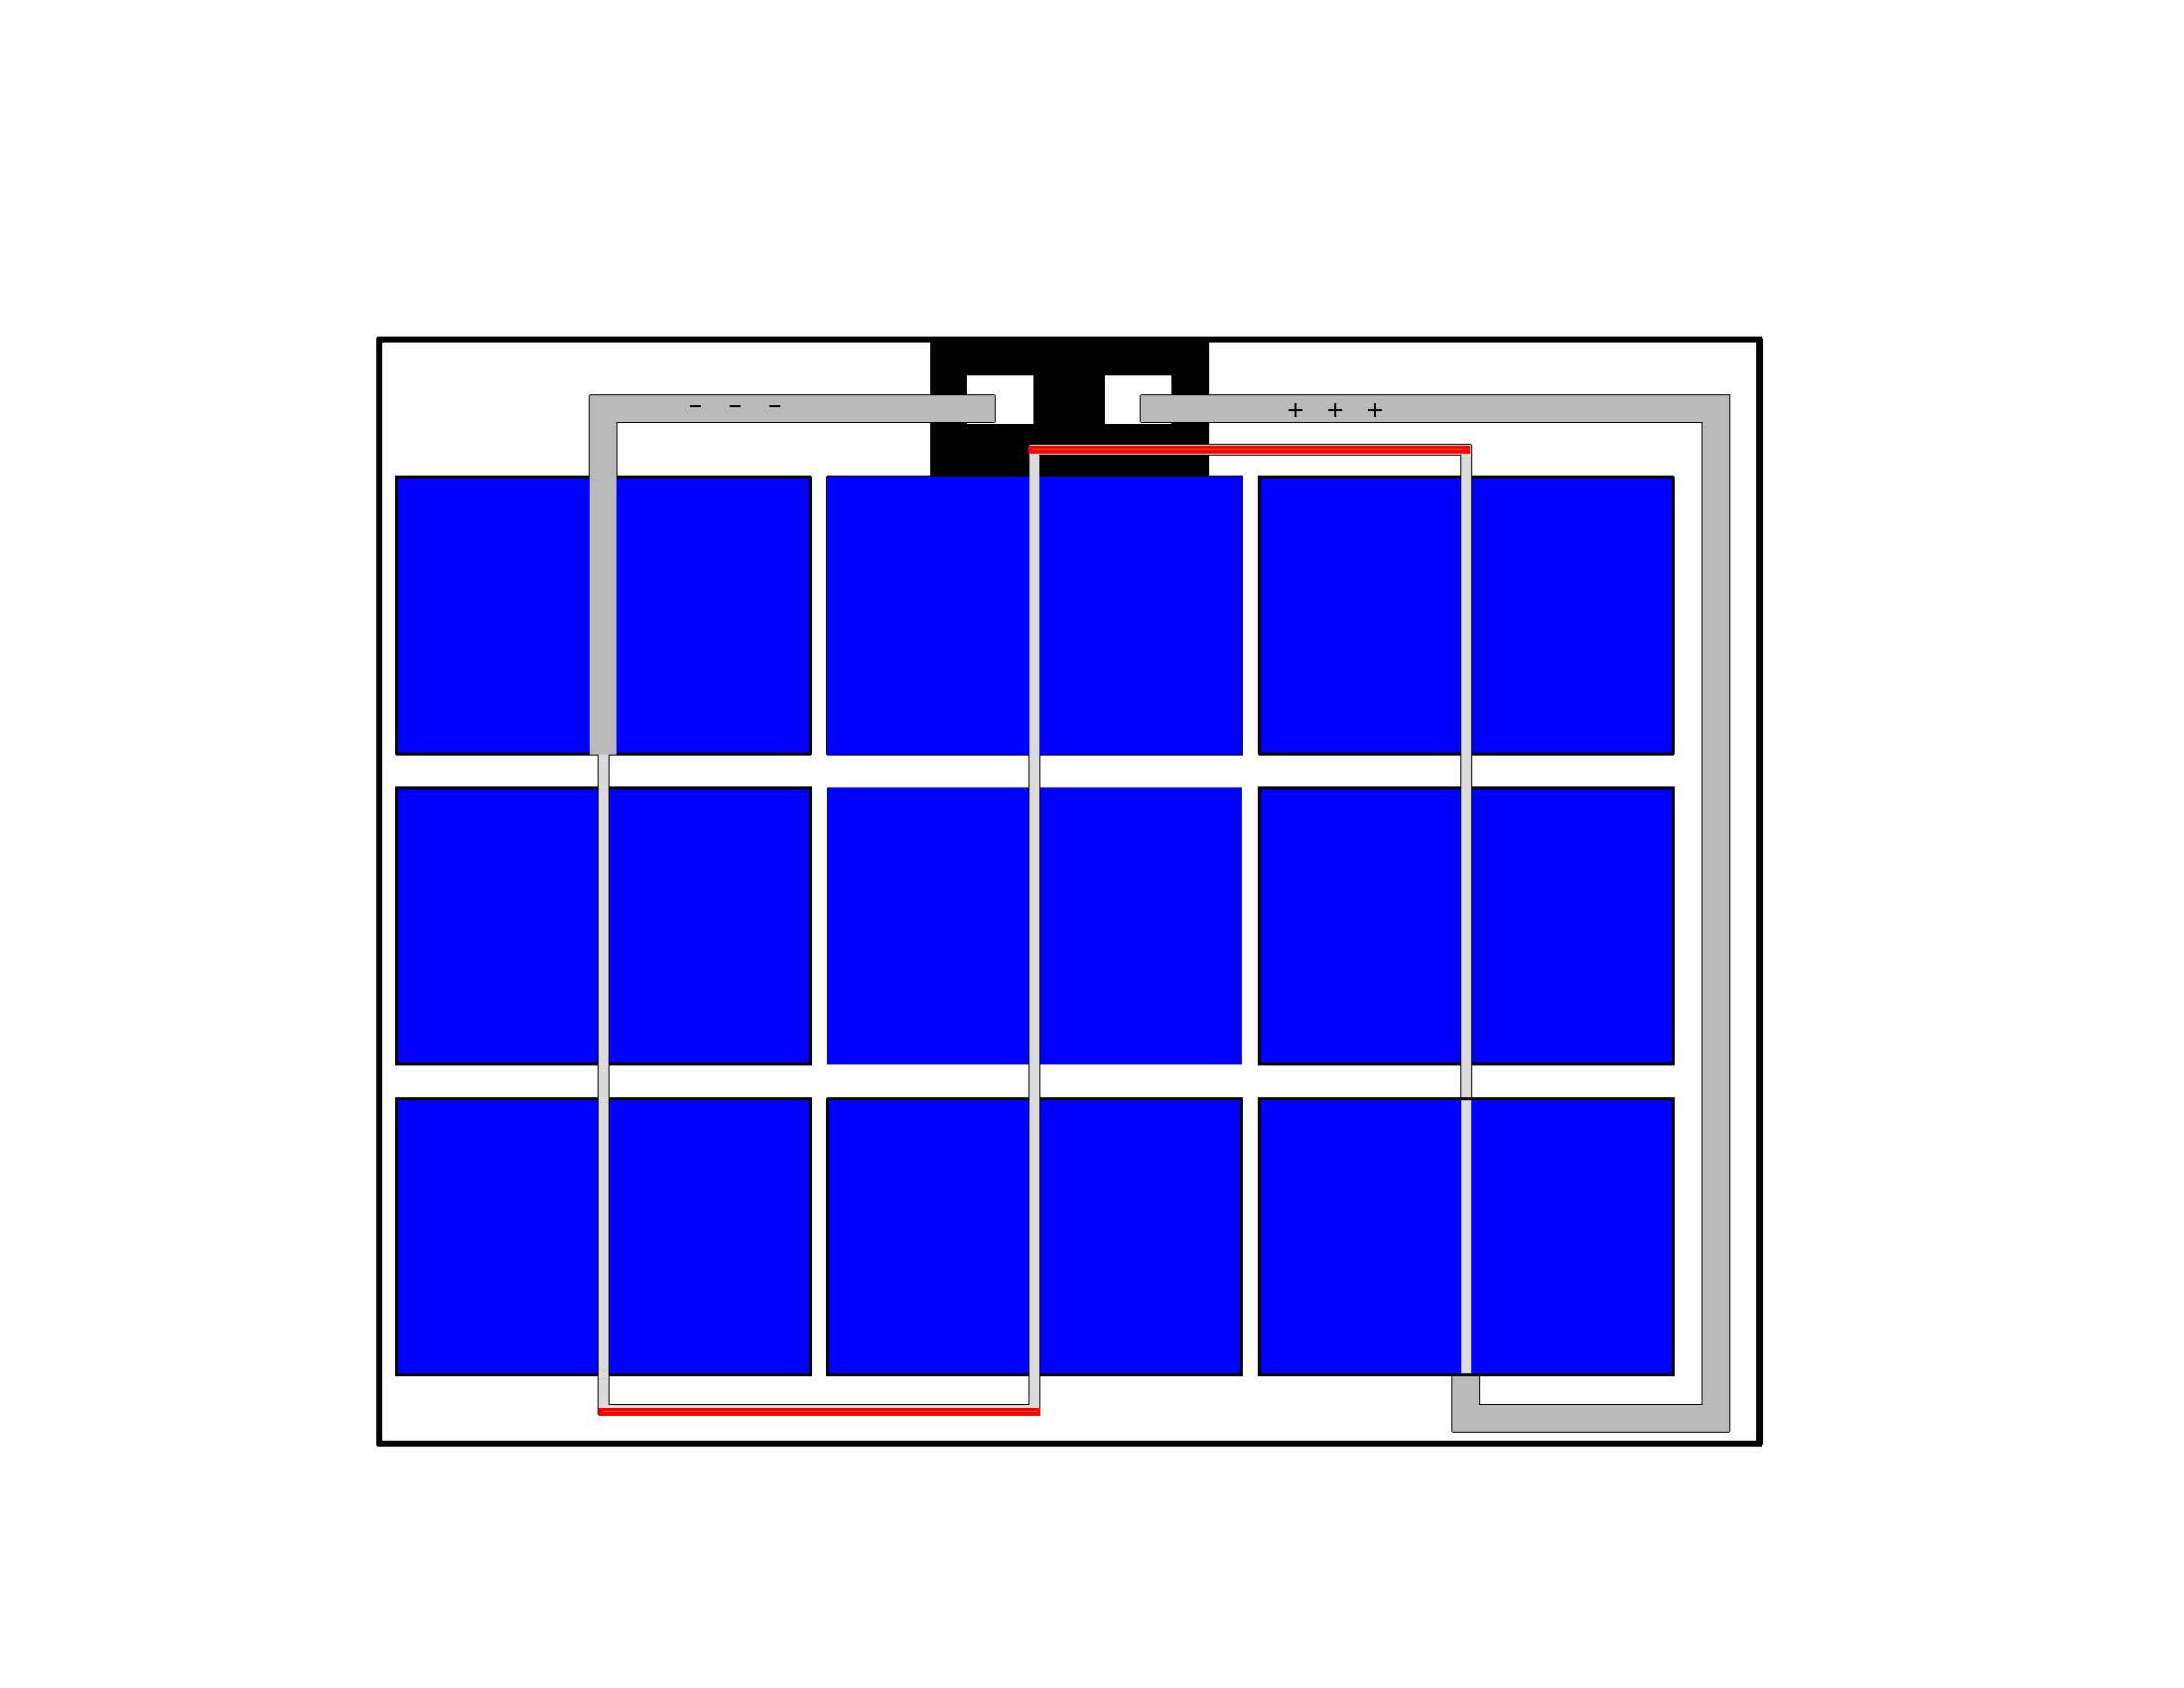
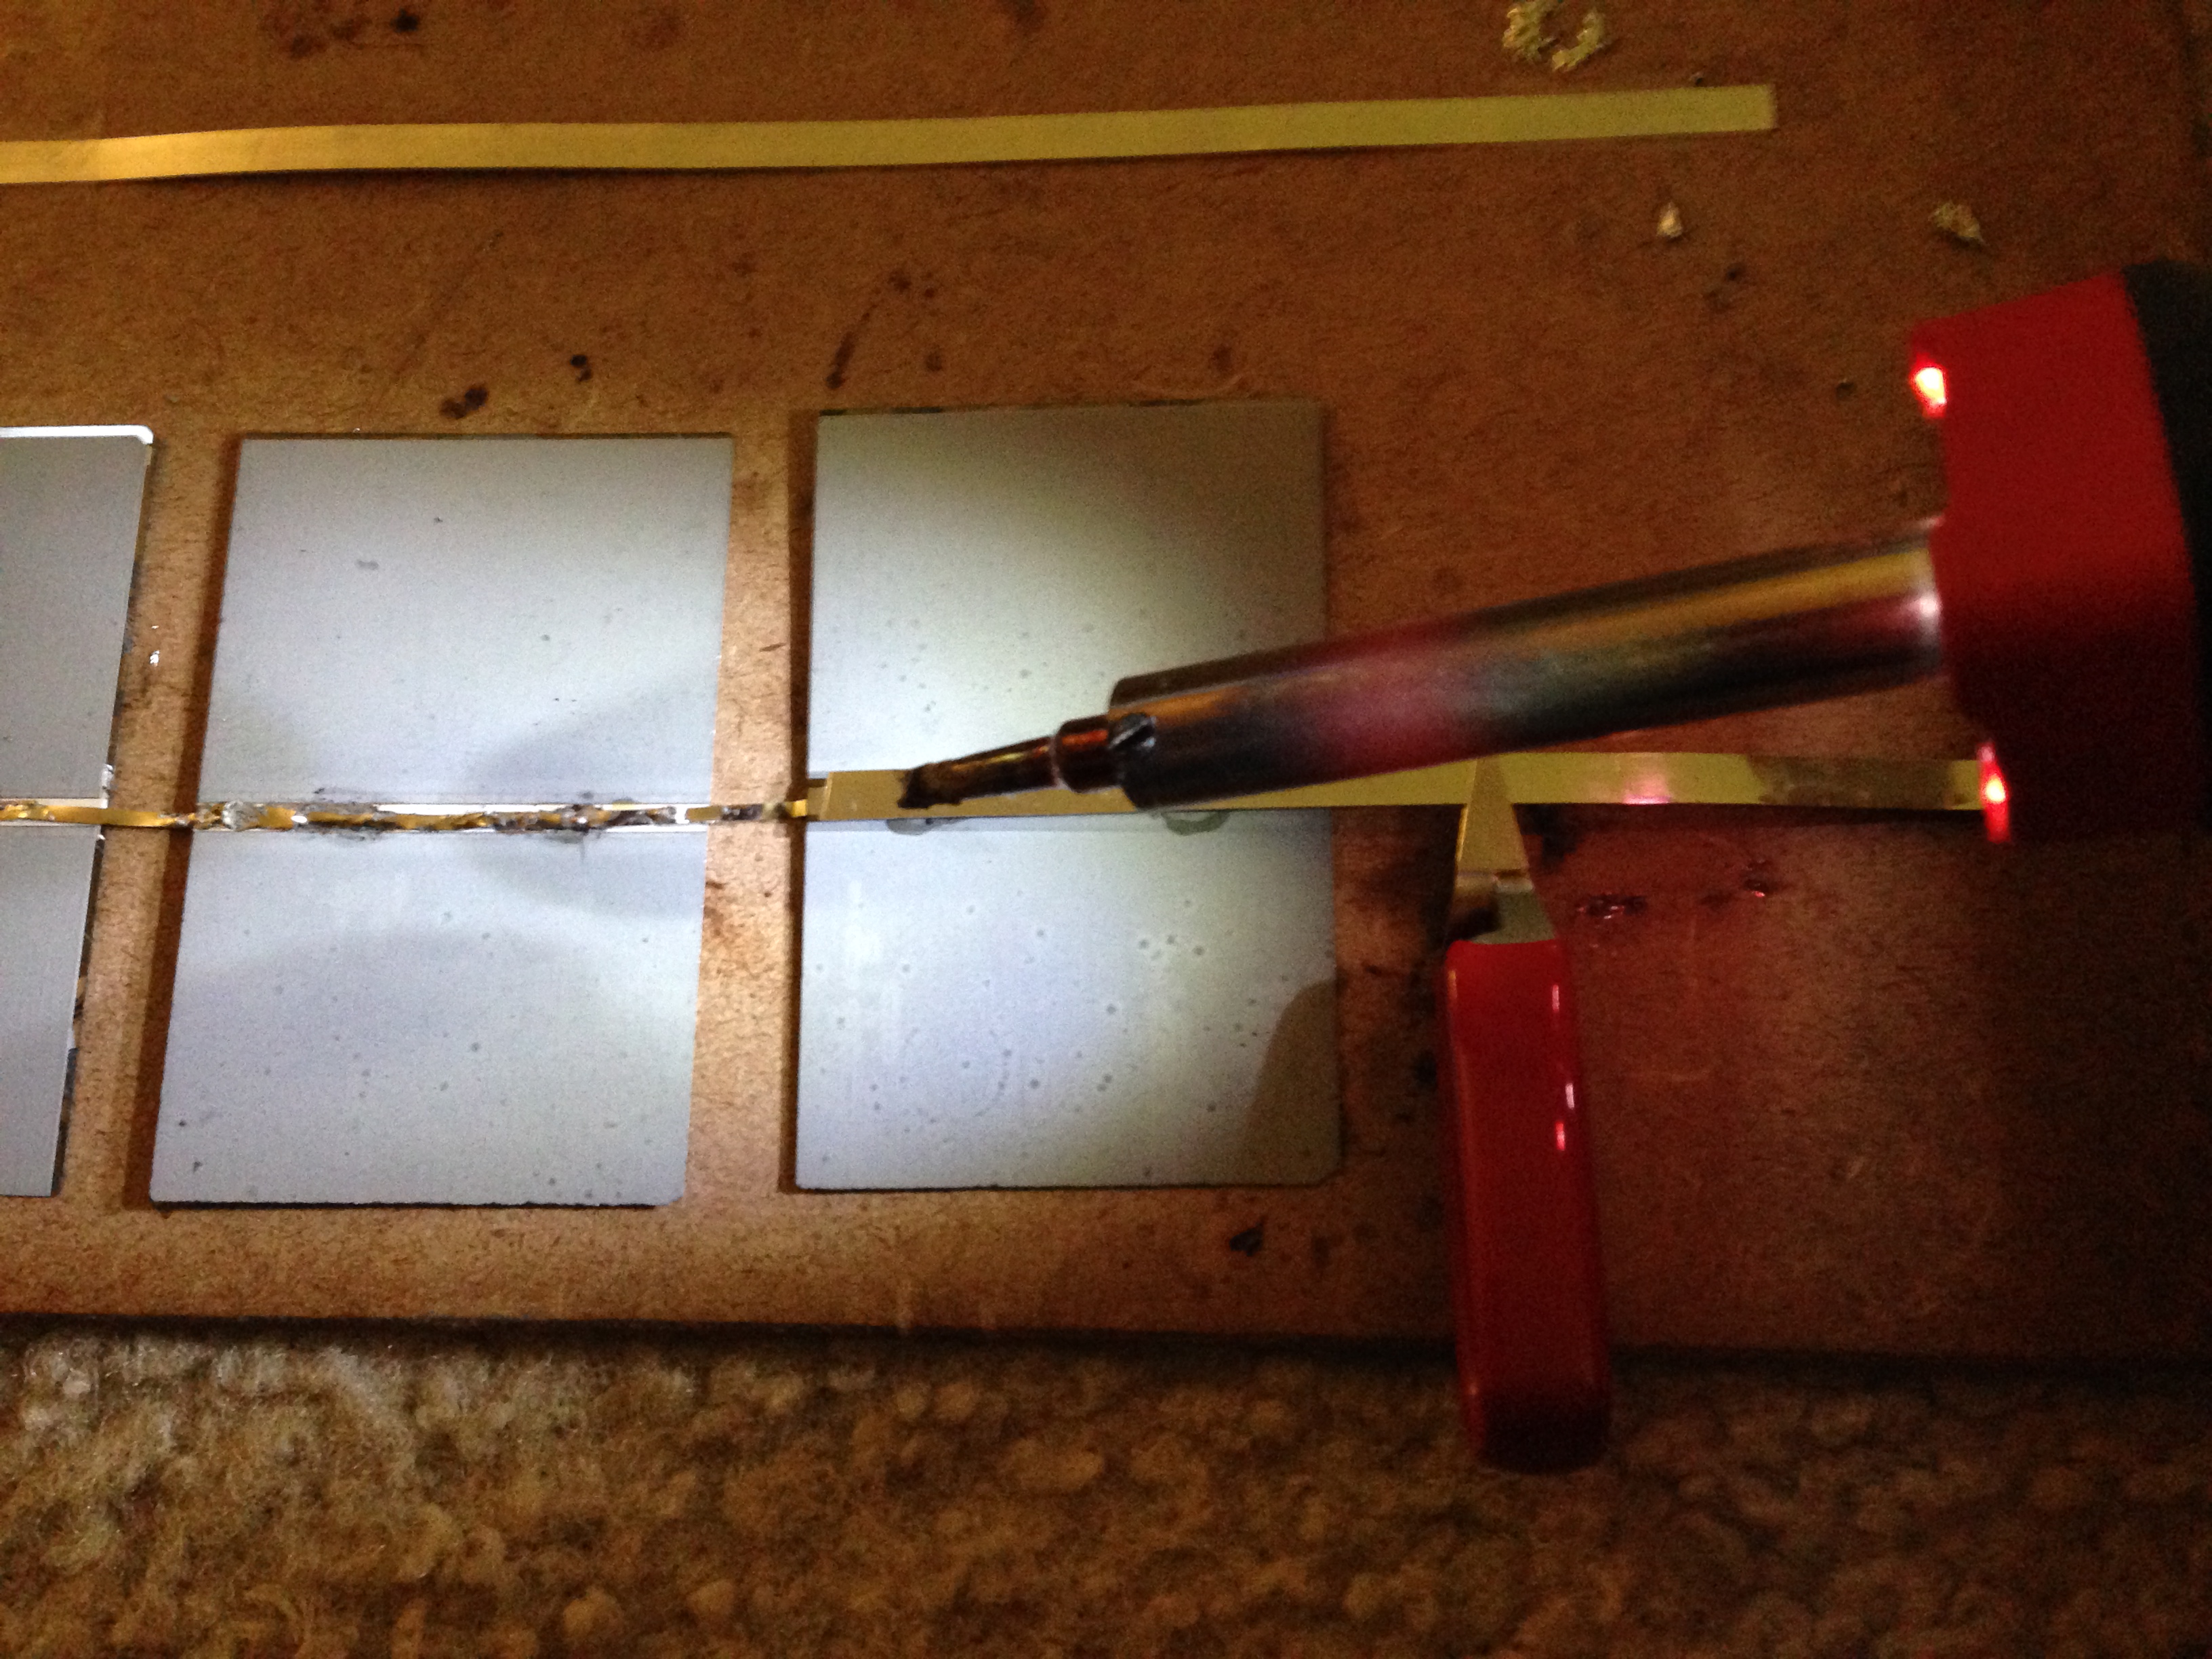
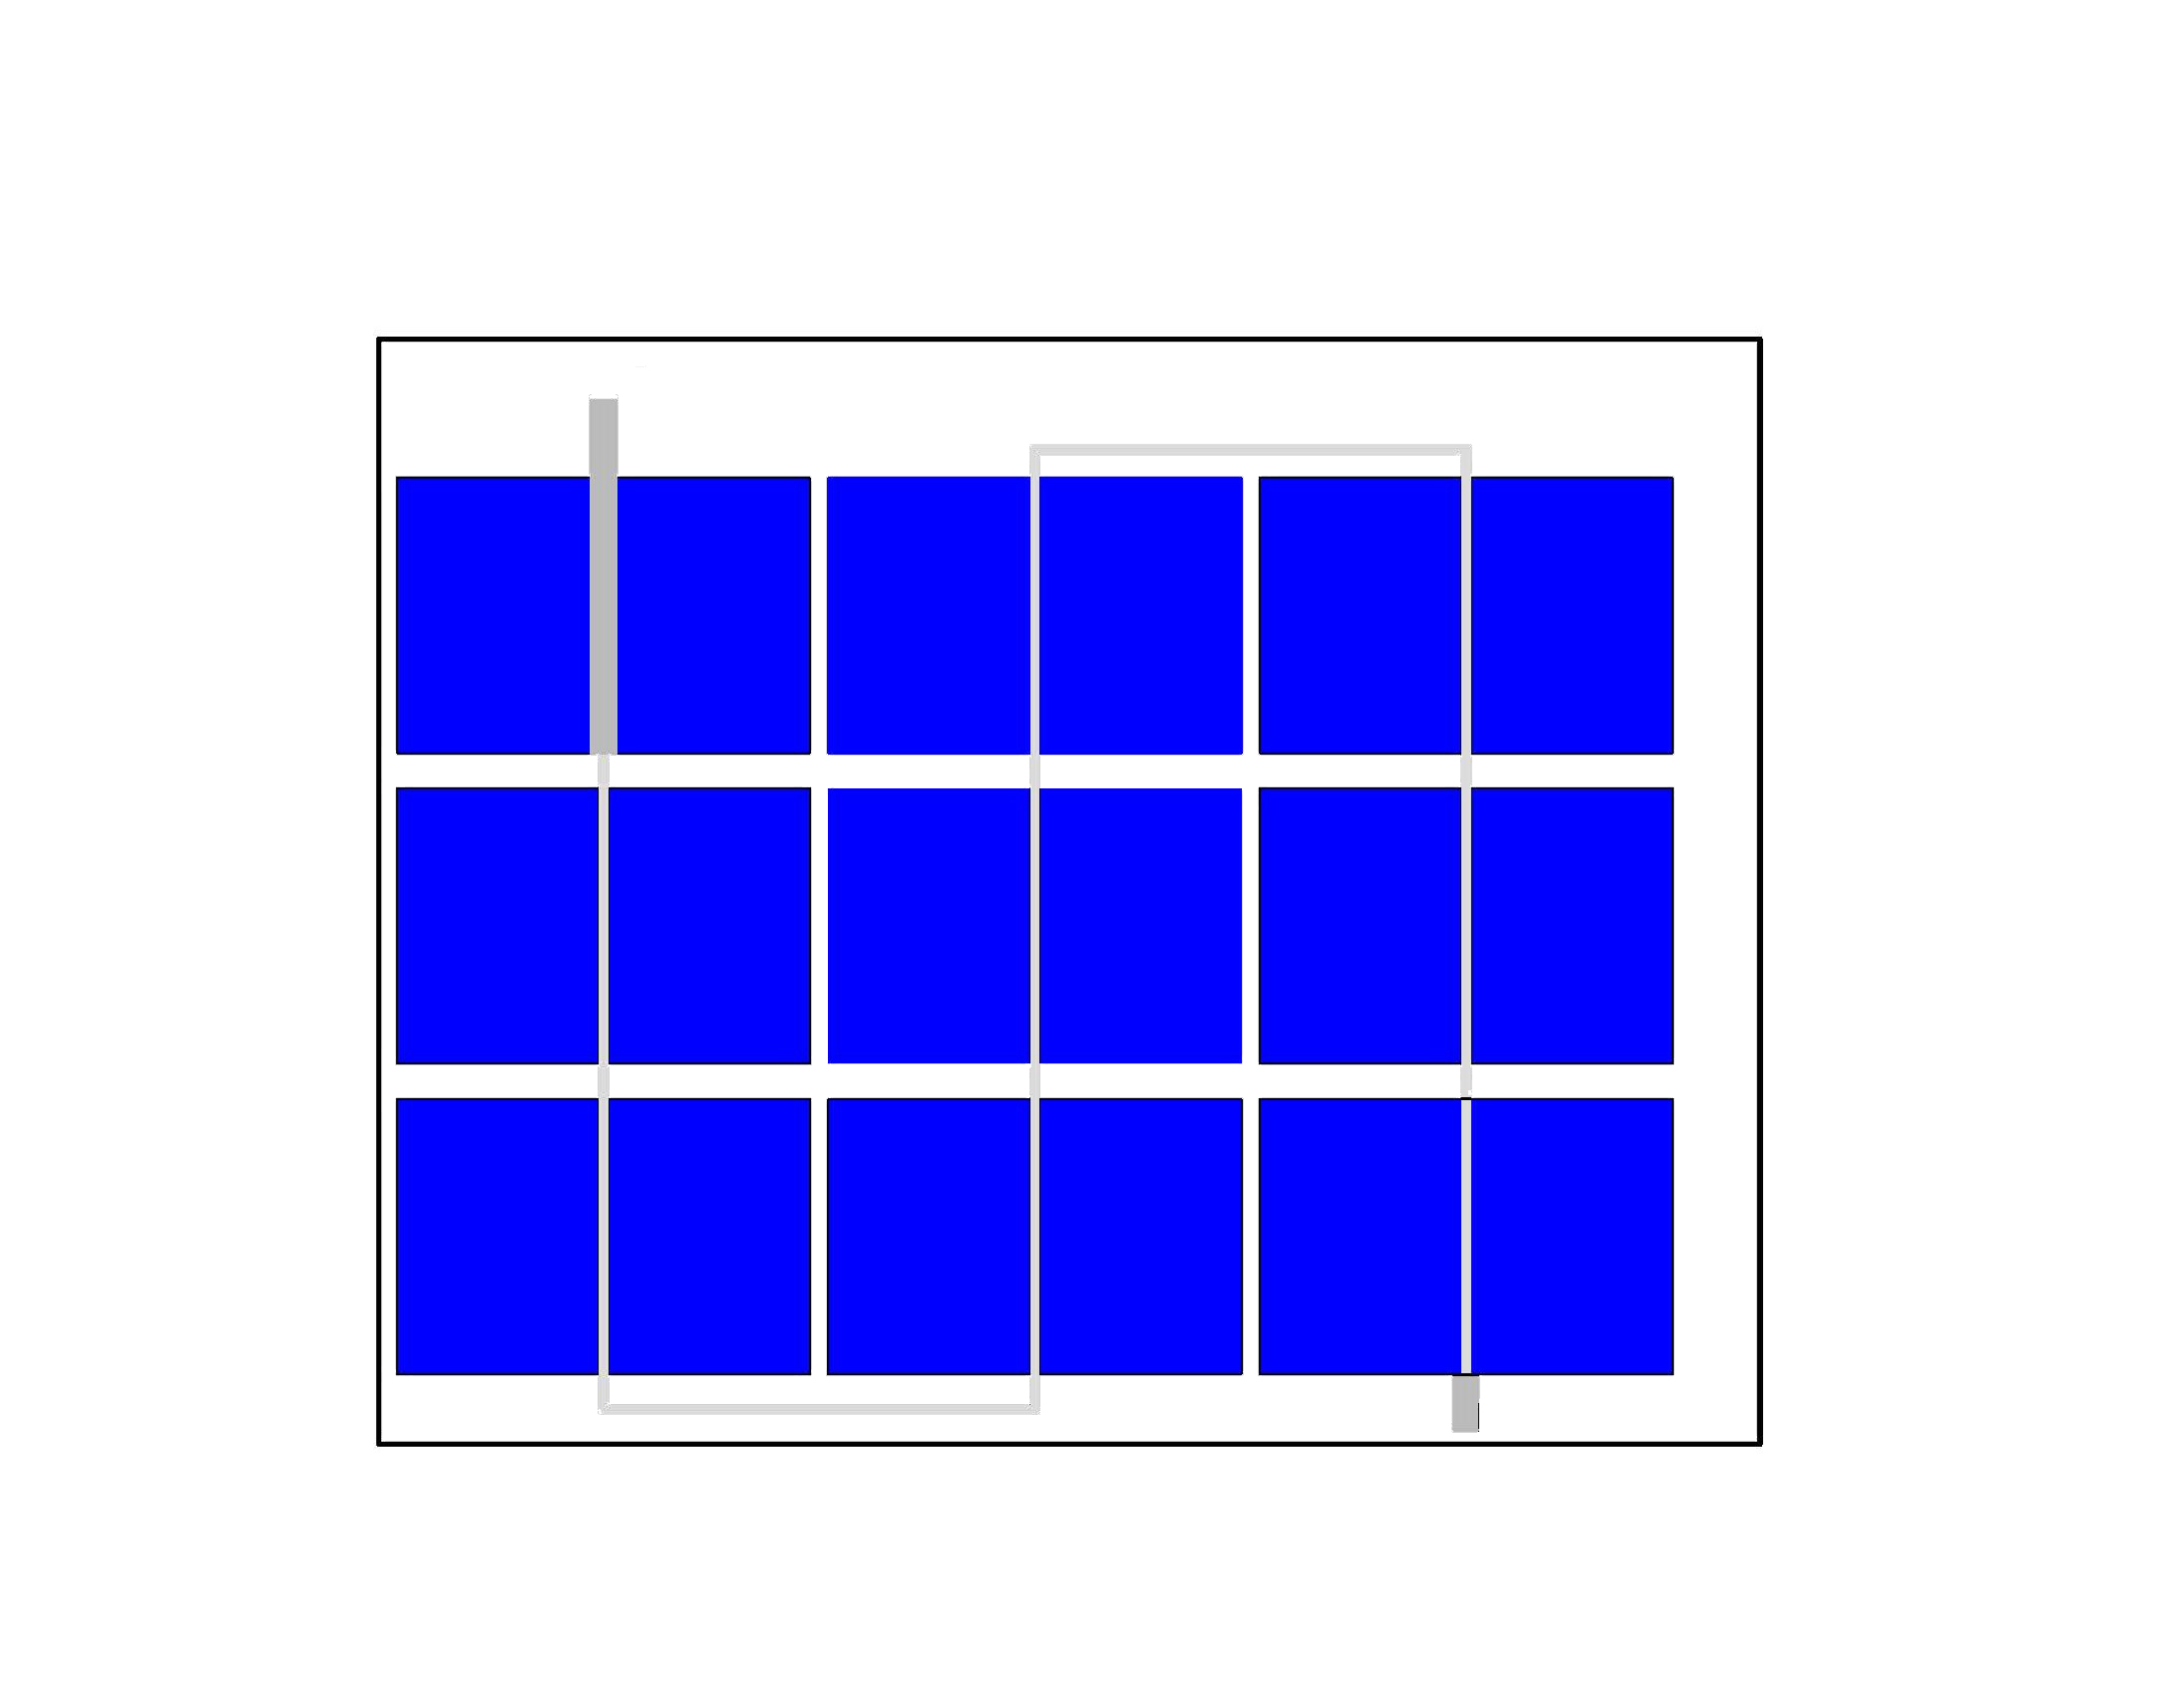
To connect the strings, solder a length of tabbing wire to the back of the last cell of each string to match your layout. Don’t do it to your last cell in your last string because you will be using bus wire for that. Also, it may be wise to do this on your glass panel with the cells in their actual final position, to make sure you are meeting the proper lengths.

Next, use a piece of tabbing wire of proper length to connect the negative tab from the front of the last cell in the previous string to the positive tab on the back of the first cell in the new string (shown in red on the picture above). Be sure to mark the connection with the flux pen and use the proper amount of solder to make a secure connection.

The final cell should be tabbed on the back using a length of bus wire to match your layout (as seen above). When you are done with that, you should have all of your strings tabbed together. At this point, your entire 4.5V series of cells is connected, the first cell of your panel should have a bus wire coming from the front side and your last cell should have a bus wire coming from the back side. These will be your negative and positive leads, respectively.
