StayingSustainable.com
Preparing the Cooler for Your DIY Homemade Air Conditioner
Once you have planned what size you need and have purchased the proper components, the next step is to cut the cooler lid where you will install the fan and the air duct. If you are like me, you will want to measure and mark it first.
Make sure you pay special attention to the thickness of your fan in relation to the thickness of the lid. In my case, the fan was about 2/3 the thickness of the lid, and it had brackets where you could screw it into the back of the computer case. So I drilled a shape into the lid that went all the way through, and then with a Dremmell I shaved the corners down 2/3 of the way through the lid. Doing that provided me with a shelf to set the fan into, while leaving the fan flush with the top of the lid.
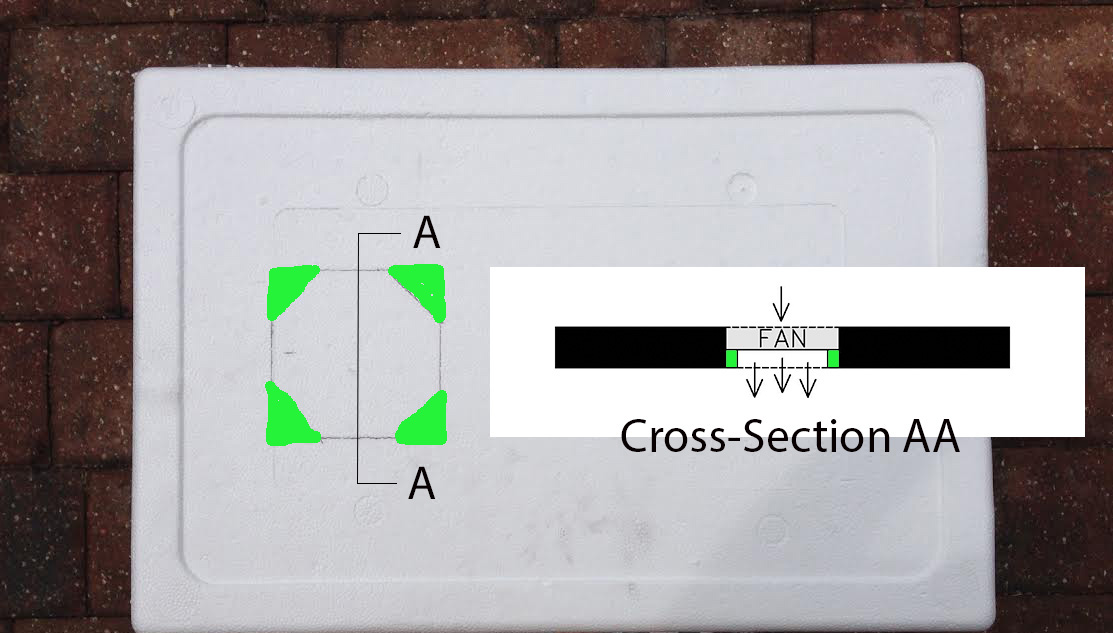
As far as the air duct (or ducts), it is often wise to make a hole smaller than what you need, and shave away at it slowly.
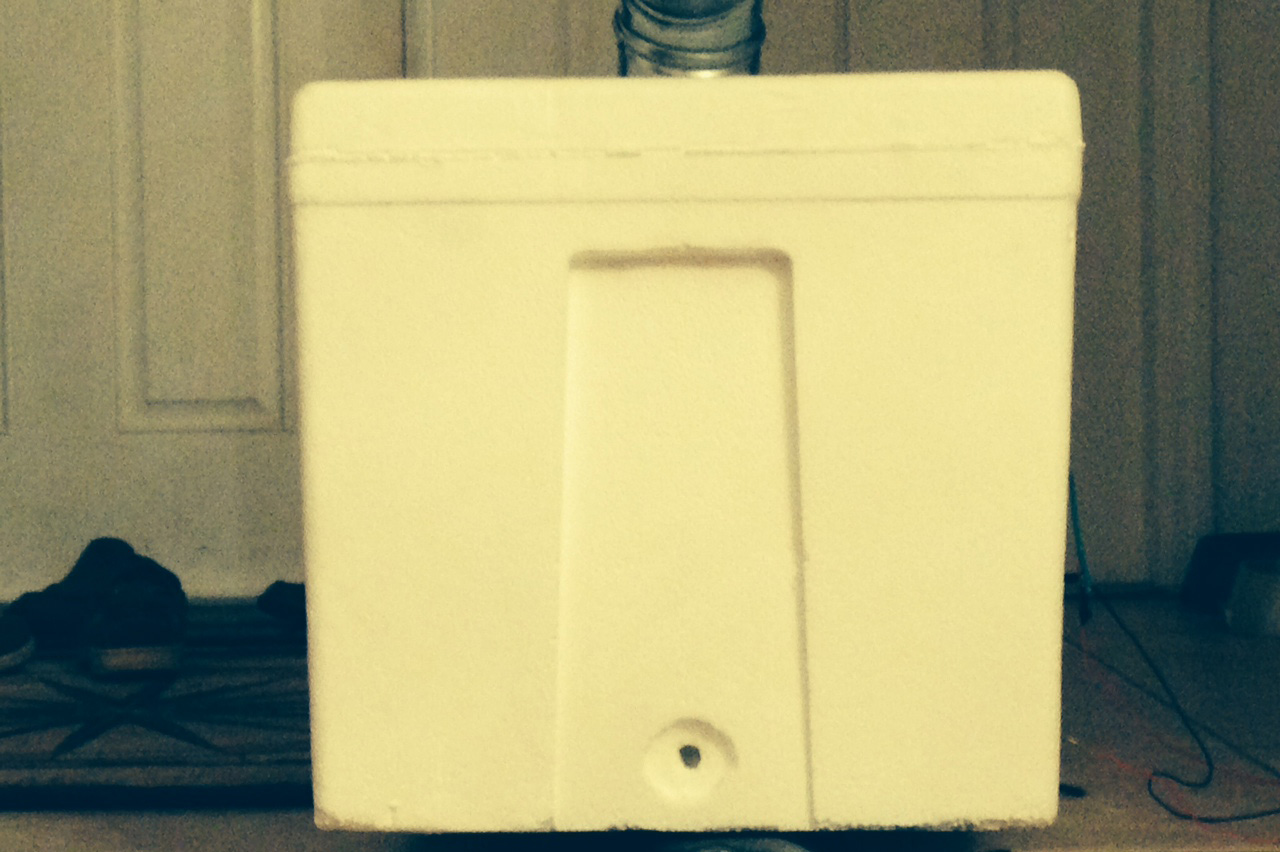
For my air conditioner, I also figured it might be something I would take to the beach or to a picnic or something. Just a few seconds with your face in cool air is good enough on a hot day sometimes. So I decided to put a spout at the bottom so that I could use the melting ice for cold water. If you decide to do the same, make sure that you put the hole at the bottom of the cooler.